

After the rubber set up, I unclamped the mold and drilled some holes for bolting it back together later. I then removed the plaster mother mold pieces.

Here's the rubber, which came out great!
I trimmed off the excess around the flange and cut off the two vents.

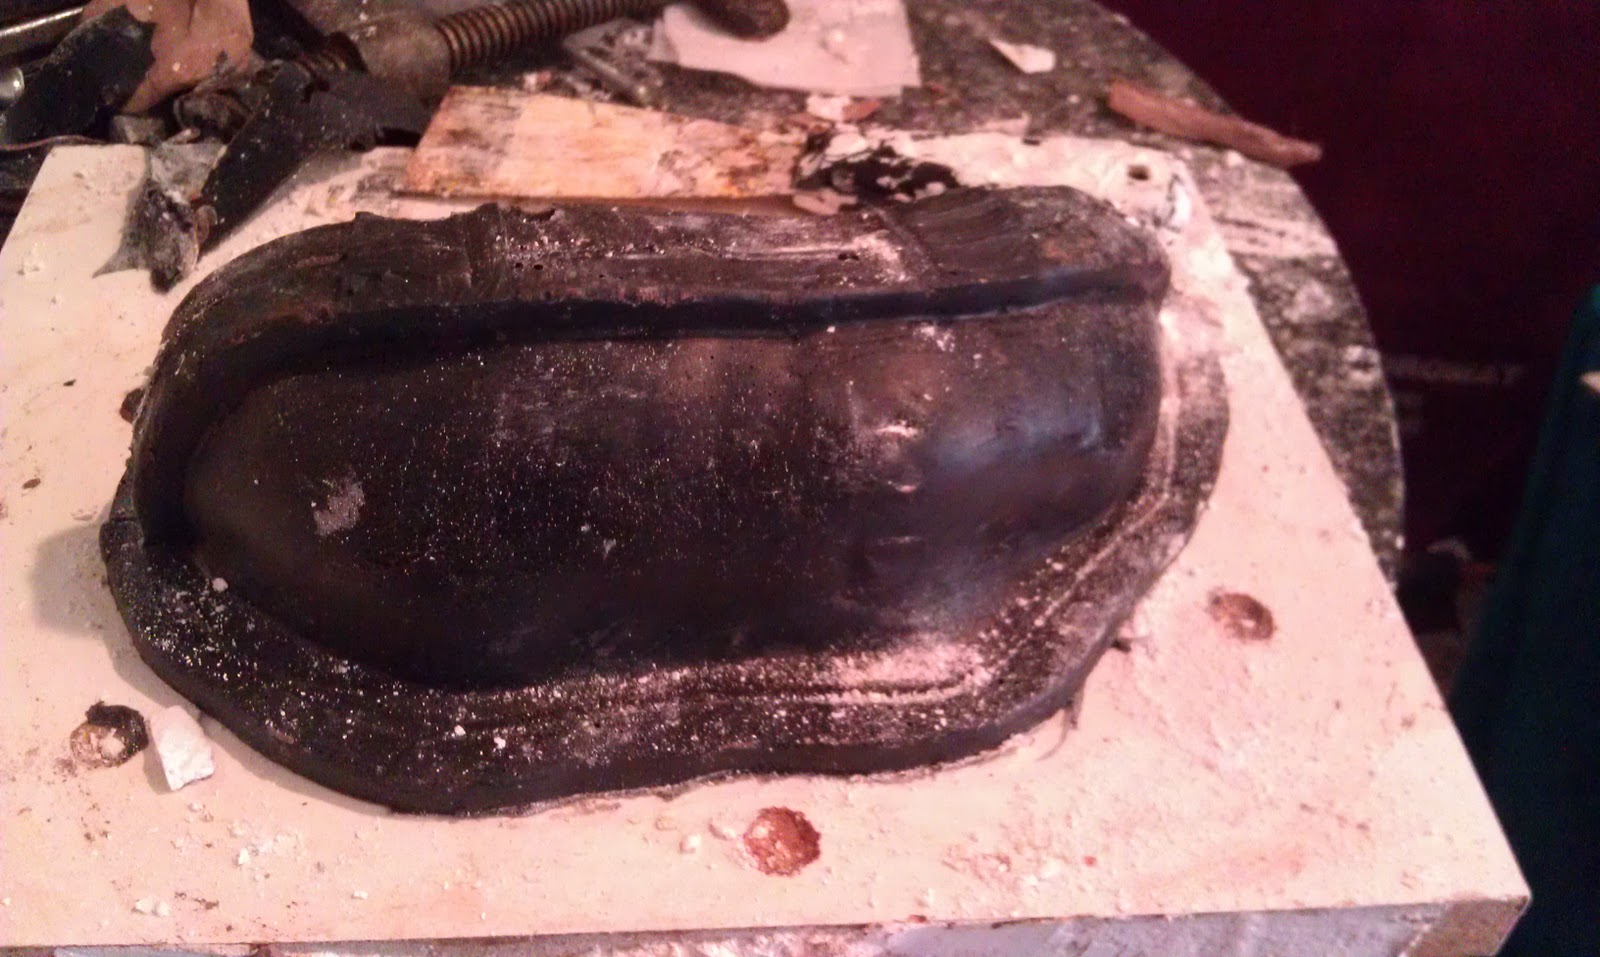
Here's the bottom before I trimmed it.

Bottom of mold, post trim.

Little man came out of the mold without his feet,
but otherwise he was emotionally unscarred by the experience ;)

Time to clean out the mold. I soak it in warm water then scrub it with a chip brush and some Murphy's oil soap to get the clay out.

Clean-ish...now for a test cast to get out the rest of the clay.

To cast it, I coated the inside of the plaster mother mold in Vaseline, placed the rubber back into it, foamed in some Murphy's oil soap into the rubber mold as a mold release, then I leveled the mold....

...and poured in the plaster...

...and in a little while got this guy! He came out really easily and I was really happy to be able to keep the rubber mold in one piece (once you cut the rubber, you get flashing along the seam lines that has to be finished in the plaster.) Once the piece dries fully, I'll do the patina test.And then I'll start cranking these guys out for our Kickstarter backers!

I'm so excited! I have absolutely adored your pieces for what seems like decades. I still have big plans to buy a bunch of your pieces once I buy a house BUT, for now, this little baby is perfect. I can't wait and thanks for offering them as an option for backers. Good luck!
ReplyDeleteThanks so much for your wonderfully kind words!!! I am so excited to get these little guys out to everyone! So glad you'll be giving him a good home :)
ReplyDelete